Showing posts with label handmade. Show all posts

Monday, July 27, 2015

Tin of Cards Kit From Stampin' Up!

Good Evening Friends!

I was finally feeling well enough on Sunday to play in the craft room. So, I decided to get out the Tin Of Cards Kit from Stampin' Up!

This kit is amazing! The size of the tin surprised me for some reason. It's bigger than I imagined. This kit comes with so many pieces! Enough to make 16 cards! You most definitely will have left over pieces.

The 4 card designs are too cute! Super easy to put together a fun card or 16 fun cards! *wink*

I did a video series on my YouTube channel. The link is on the left top of this blog under the heading "Social Medias". It's a 5 part series. Part 1 is an introduction to the kit. I show you what is in the kit and talk a little about the coordinating stamp set, coincidentally called Tin of Cards stamp set. LOL

Part 2 is a short tutorial on how to do the file tabs/dividers that go in the tin to organize your card creations.

Part 3 is a tutorial on how to put together the 1st card, which is the one with the heart cut out on the front.

Part 4 has tutorials for the 2nd and 3rd cards. The second is the Bermuda Bay card with the wood speech bubble as the focal point. Card three is the shiny gold card.

Part 5 is the tutorial for the 4th card, which is the kraft colored card base with the gorgeous butterflies!

I'm really loving the kits. I love that everything is cut and ready to go for you so all you have to do is put them together!

Kits make a wonderful gift for someone that is just starting out with paper crafting, someone that is short on time and wants to create quickly or even as a Christmas/birthday/anytime gift for someone that already crafts.

The kits offered by Stampin' Up! are easy enough for beginners, yet they have enough elements to keep even the most savvy crafter interested and engaged.

Head over to my Stampin' Up! site and see what kit calls your name. *wink*


Thanks for stopping by! Have a wonderful evening! - Pat

Monday, June 29, 2015

Patriotic Flag Card

Hello Friends!

Today I'd like to share a Patriot card I made for a challenge over in my Stampin' Up! team group on Facebook.
This is a very basic A2 size card. Perfect for beginners or anyone looking for a quick card. I think this card would be a cute invitation for a 4th of July BBQ.
I used the Work of Art Stamp Set from Stampin' Up! Along with Real Red, Night of Navy and Whisper White card stocks.
Super simple to make. You just stamp the blue swatch first. Then stamp your red stripes in any direction you want them to point. I did mine in a diagonal direction to give the appearance of a waving flag. All the supplies used will be listed at the bottom of  this post.


Thanks for stopping by today!


Built for Free Using: My Stampin Blog

Friday, June 26, 2015

Expecting Mommy Card

Hello Crafty Friends!

A couple of days ago, I did a video on a baby/expecting mommy card I made. I made it for a dear friend that just found out she's pregnant after undergoing fertility treatments. I'm so happy and excited for her and her boyfriend! They've been trying for years to conceive!

Here's that video: 


I didn't show the inside of the card, so, I'd like to share it here with you all.

For this card, I used a mix of Stampin' Up! products and other companies' products. I like to do that sometimes. I have a HUGE stash of non-Stampin' Up! products that I'm trying to use up when I can. I may be doing a "destash" sale of some of the supplies I have sometime soon. Just keep an eye on my YouTube channel if you're interested.

Wow! I sure strayed off topic on that one! Kind of LOL

Anyway, here's the card, both front and inside... 

Card front.

Inside of card.

Sorry for the poor photography. I'm working on a solution to that. Hopefully soon, I'll have better quality. Until then, thank you for hanging in there with me. I appreciate you taking the time to read my blog posts.

Have a wonderful day filled with all the things you love! - Pat

Wednesday, June 10, 2015

2015-2017 In Colors Card Set

Hello Crafty Friends!

I know I'm a little behind. A day late and a dollar short. BUT, I wanted to make a card set featuring our New 2015-2017 In Colors.
This set came together really quickly! When I'm making several of the same card, I have a streamline process I go through.
First, I cut my card bases, score and fold them. Next, I cut out all of the circles using a Spellbinder's die. Then I stamped all of the images using the Butterfly Basics Stamp Set. I adhered the circles to the card bases using dimensionals. Finally, I tied a pretty bow using  the new in-colors Dotted Lace Trim and glued it to the bottom of each circle.
If you create your cards in an assembly line fashion, they get done quicker and all at the same time!
I hope you find some inspiration in the cards I made today.


Cucumber Crush

Delightful Dijon

Mint Macaron

Tip Top Taupe

Watermelon Wonder


Have a happy, crafty day! - Pat

PRODUCTS USED:

Built for Free Using: My Stampin Blog

Friday, May 8, 2015

Card Sketch Challenge

Good Morning Friends!

I've been into doing challenges lately. It's what has been keeping my brain alive! LOL This challenge, actually, was for 2 places! 1. for Creating The Crafty Life and 2. My Stampin' Up! Team's Facebook Group, Luvly Stampers.

The sketch is from CCL (Creating The Crafty Life). I used it for both groups.

I don't know about you, but I love to follow a sketch sometimes. It takes all the guess work out of designing a card. Some days that's what I need. A plan to follow so I can create something beautiful without putting too much pressure on my stressed out brain.

Here's the sketch:


I love this sketch! It's simple and clean, with lots of layers.


Here's the card I created. I used Hello Honey for my card base. I used the Moonlight DSP stack for the patterned panels. A strip of Basic Grey card stock across the center. The stamp set I used is Blooming With Hope. I just love that stamp set! Sadly, it's retiring. I colored the flowers using my Stampin' Write Markers in Hello Honey, Lost Lagoon and Wild Wasabi.

You may have noticed that I missed one of the layers...oops! My stamping is a little crooked and my panels aren't straight. I'm OK with that. I'm human. I make mistakes. After all, if I wanted a "perfect" card, I'd buy a Hallmark. I much prefer a handmade, from the heart, card! Imperfections and all.

Thank you for stopping by and spending some time with me today. I hope you have a wonderful day!

Wednesday, May 6, 2015

A Golden Hello

Hello My Crafty Friends!

Welcome to my blog! I'm so glad you decided to visit today. Today I have a card to share with you. I really love how this came out. At first I wasn't sure of the colors - white and gold, but I got over it and went on to make one of my most favorite cards! This was a sketch challenge I did over at Creating The Crafty Life. It's a wonderful community to make crafty friends, swap projects and do challenges.


This card is a hybrid of sorts, meaning, I used some Stampin' Up! products and some other companies' products. I know, shame on me for using "contraband" as my upline, Wendy, calls it.
Stampin' Up! actually allows us to use other products from time to time, as long as the Stampin' Up! product is the "highlight" of the show, so to speak.
I used the "hello" die from the Hello You Thinlits from Stampin' Up!. I also used some heart punches from Marvy Uchida. The polka dot card base is from American Crafts. the ovals are all Spellbinders dies. 
In my opinion, the "hello" makes the card! What do you think? Let me know in the comments. 

Have a happy, crafty day!

Monday, April 27, 2015

Fun With Retiring Products!

Hi There!

I hope you all have made it through your Monday without too much pain and torture. I have, except for the incredible lack of sleep! Was up all night last night. Before that, I was getting about 2 hours per night! I just don't get it.
So, when life gives you lemons, you make lemonade! I created this card and gift box set in the middle of the night when I couldn't sleep.
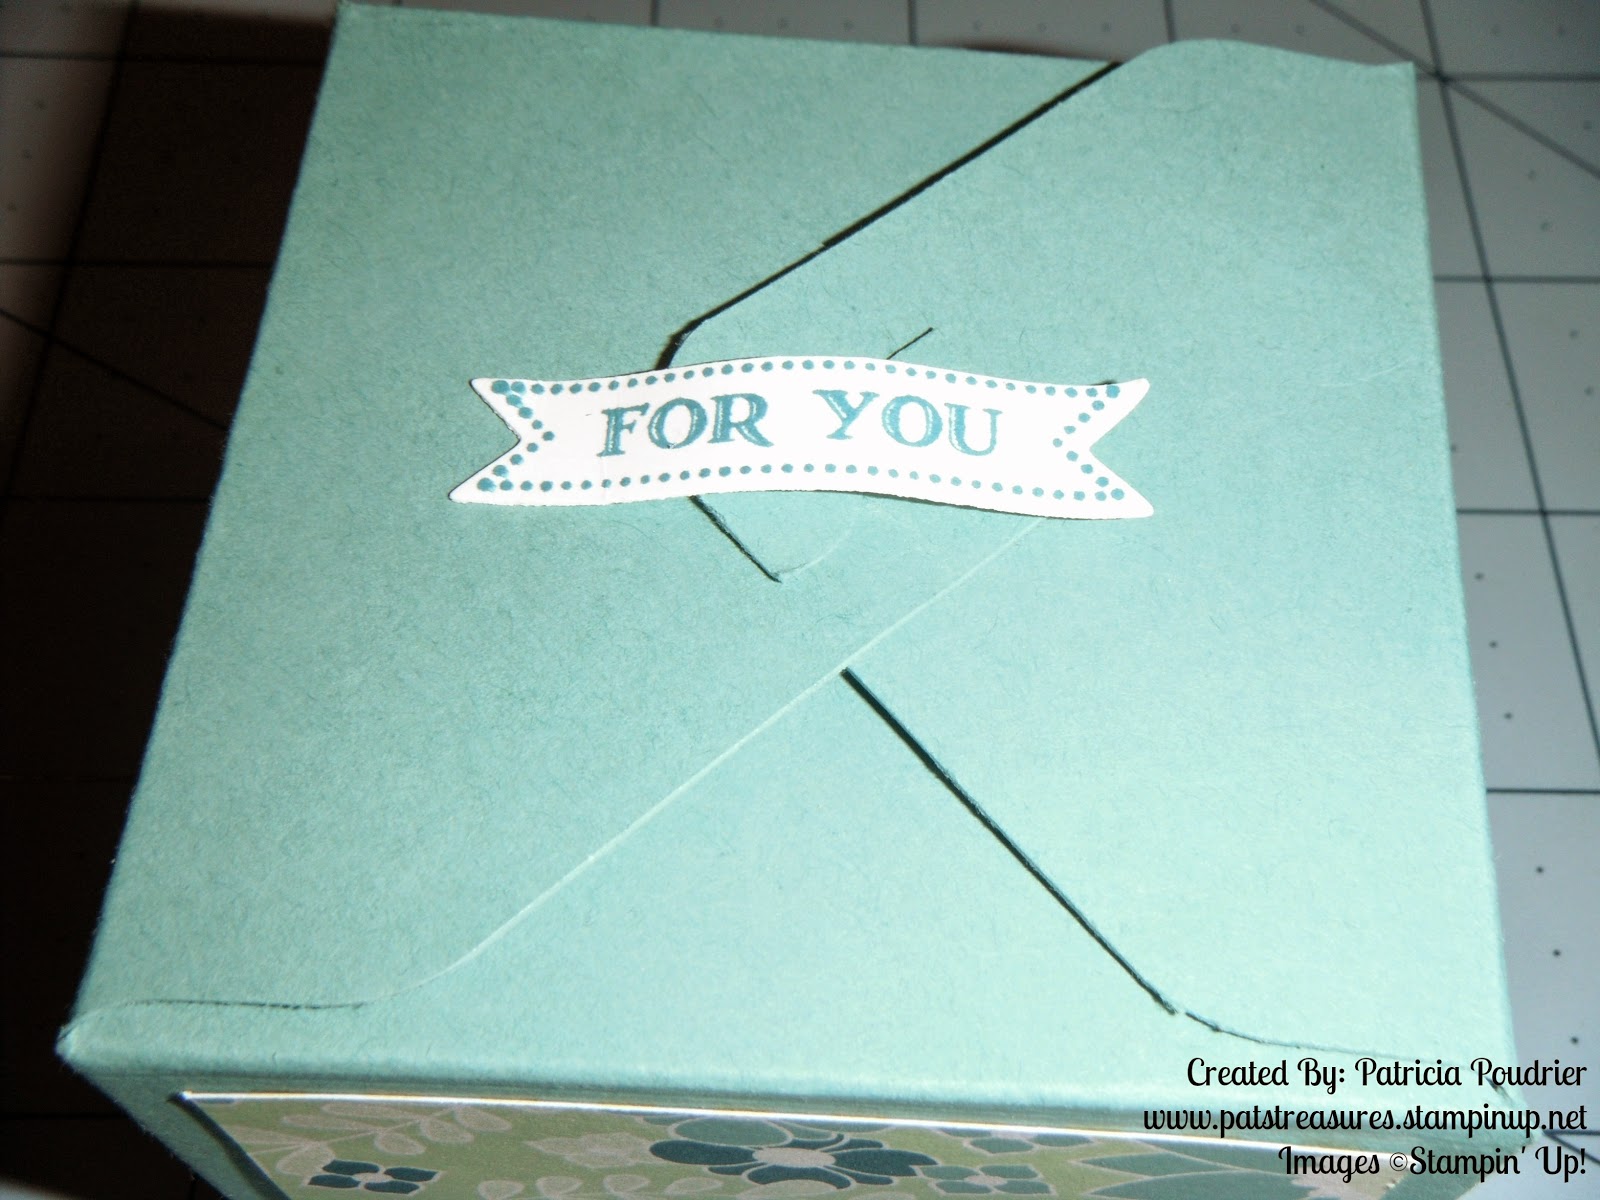
The box measures 2" x 2 " x 1 3/4". I used the Gift Box Punch Board to create the box. The color is Lost Lagoon. I layered on some Designer Series Paper from the All Abloom paper stack. I also used the Itty Bitty Banners Stamp Set to create a little banner for the top of the box.


For the card, I used some of the left over paper from the box. I stamped and punched out a frame with the Four Frames Stamp Set. I just LOVE the little bird on this frame! So cute! I layered the DSP and the frame on some Island Indigo card stock. I finished it off with a bow made out of Thick Baker's Twine in the color Lost Lagoon. I love the simplicity of this card, yet it looks kind of elegant at the same time.


Some of these beautiful products are retiring. The Four Frames Stamp Set, Itty Bitty Banners Stamp Set, and the All Abloom DSP paper stack are all retiring! Don't miss out! Order before they sell out!


Thanks so much for stopping by my blog today! I hope this blog post helped cheer you up in spite of it being Monday!

Hugs & Much Love - Pat
#RetiringProductFun


Thursday, March 12, 2015

Lotus Blossom Cards

Hello Crafty Friends!

I'd like to share a couple of cards I made using the Lotus Blossom stamp set from Stampin' Up!

This first card uses Crisp Cantaloupe ink and card stock. It's a pretty simple, standard A2 size card. I just love this stamp set. It makes making elegant cards a breeze!

Crisp Cantaloupe

 The next card, uses Lost Lagoon ink and card stock, along with Soft Sky card stock as a mat.


Lost Lagoon


I hope you have enjoyed these 2 cards. They're simple, yet elegant. Perfect for any occasion or just because!

Happy Stampin' ~ Pat 

Thursday, January 22, 2015

Happiest Birthday Card

Good Afternoon!

Today I would like to share with you a card I made using Stampin' Up's Apothecary Art stamp set. This is a standard A2 size card. I used Strawberry Slush and Coastal Cabana card stock and inks. It's a pretty simple card, but I love the look of it. There will be a video on my YouTube channel later today that shows how I made this card, start to finish.
I hope you all have a wonderful day! Thank you for stopping by.


Wednesday, January 21, 2015

Gina's Designs Guest Design Team Project - A Little Romance Memory Tray

Good morning friends!

Today I'd like to share a gorgeous project I did for Gina's Designs. I used the Memory Tray Shadow Box as well as many other elements from Gina's store http://www.ginasdesigns.net/Store/

I've decided to post some pictures here on my blog as well as the YouTube video I did on this piece. That way you can watch what I did instead of reading a very lengthy post. I also invite you to check out Gina's blog http://ginasdesigns.blogspot.com/ to see their post of my project.

Thank you so much for stopping by. Have a happy, crafty day!

Here's the entire project.

This is the top.

This is the largest compartment.

This is what it's all about...Timeless romance!

Here's the video, enjoy!


Wednesday, January 14, 2015

Gina's Designs Guest Design Team Project #2 - A Moment In Time

Good morning!

This week for Gina's Designs, I created an altered Stage! The products I used from Gina's Designs are the Stage and Word Phrases 1.
If you would like to see the blog post on Gina's blog, please click on this link http://ginasdesigns.blogspot.co.uk/2015/01/a-moment-in-time-by-guest-designer-pat.html
Her blog post explains everything I did for this project. I also will post a video below this post telling you what I did to this gorgeous piece! So don't forget to scroll down.
It was a bit difficult to get a good picture. The weather and lighting were not cooperating! LOL


Saturday, January 10, 2015

License Plate Birthday Card

Hello Friends!

Today I am sharing a super simple card that I made for my grandson's birthday.

I used DCWV's Stack 6 patterned paper, Autumn Leaves License Plate Stamp Set, StazOn Inks, and an American Crafts Card Base. This is a standard A2 size card, which is 4 1/4" x 5 1/2".

I struggled with this card, hence it's simplicity. I couldn't think of any embellishments I could use. If you have any suggestions, please leave me a comment below.